Disassembling a Dyson vacuum cleaner can be a complex process. While models like the Dyson DC58, DC59, and V6 may seem intimidating, with careful attention and the right tools, it’s entirely possible to disassemble these machines for cleaning or repairs. This guide will give a step-by-step breakdown to help you through this task.
Required Tools:
Before you begin the process, gather the following tools:
Screwdriver Torx T6 or T8 (preferably with a long handle)
Prying tool (spoon, flathead screwdriver, or plastic pry bar)
Pliers or chopsticks
Prying picks
Step-by-Step Guide to Disassembling a Dyson Vacuum Cleaner
Before starting the process check that your vacuum cleaner is unplugged to prevent any accident. Gather the necessary tools based on your vacuum model.
Let’s get started on disassembling your Dyson.
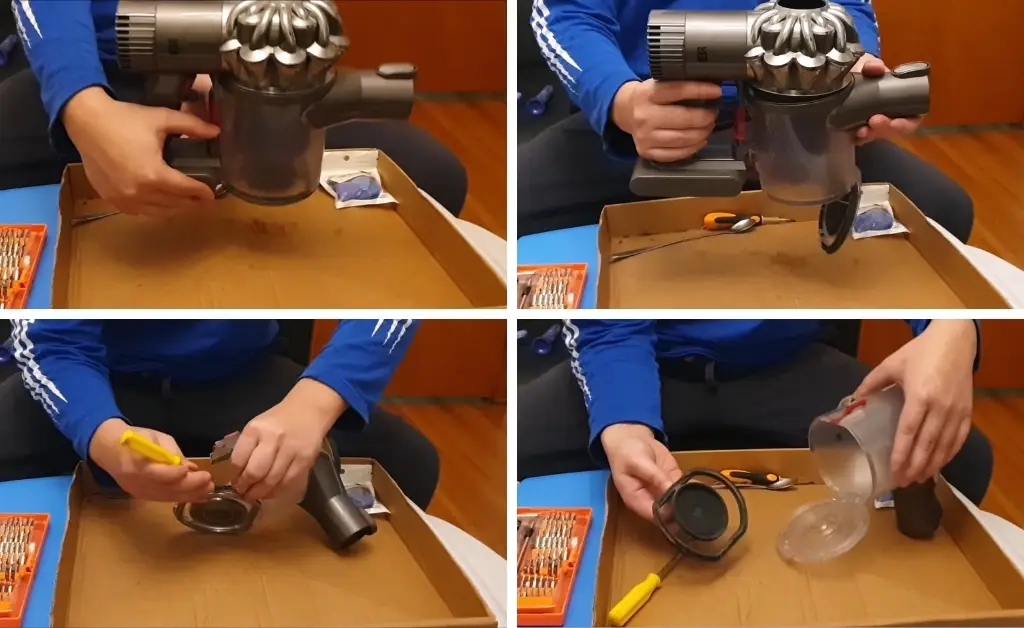
1. Removing the Vacuum Filter
Remove the filter from the top of the vacuum cleaner.
Detach the filter from its housing with the help of a screwdriver or thin tool.
Carefully wedge a prying tool (spoon) into the gaps between the filter and the plastic housing to separate them.
Remove the filter out, avoiding damage to the plastic. Even if a small part breaks, the filter should stay in place.
If your vacuum filter is damaged, replace it with a new Dyson vacuum filter.
2. Detaching the Bin
Press the open bin button fully to remove the bin.
Tip the bin to free it from the notch.
Carefully separate the rubber gasket from the plastic with a prying tool if necessary.
Reinsert the rubber and ensure it is perfectly aligned to prevent air leaks, which can reduce vacuum suction power and performance.
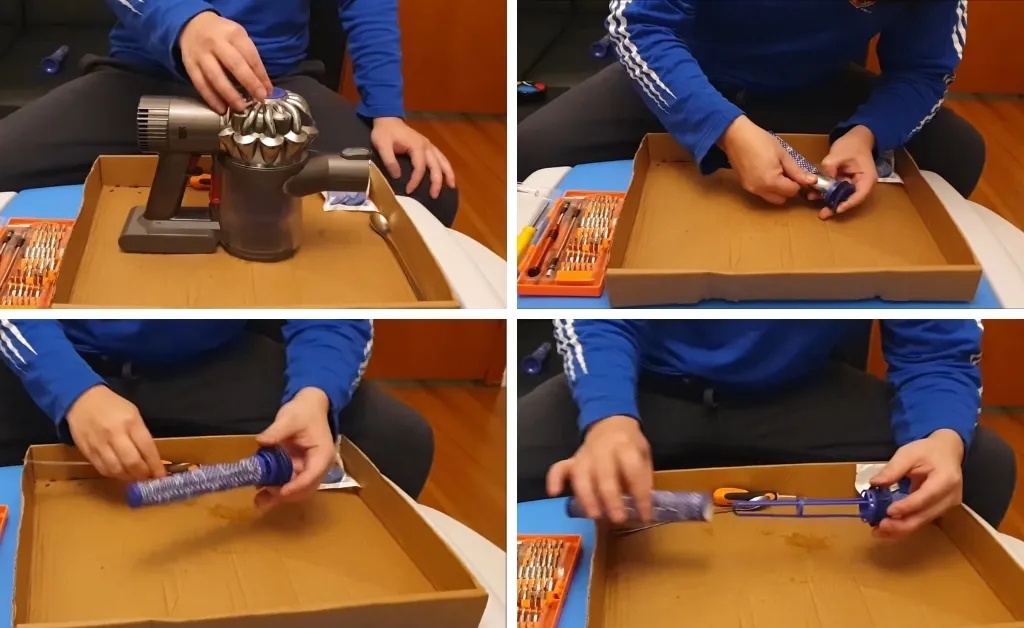
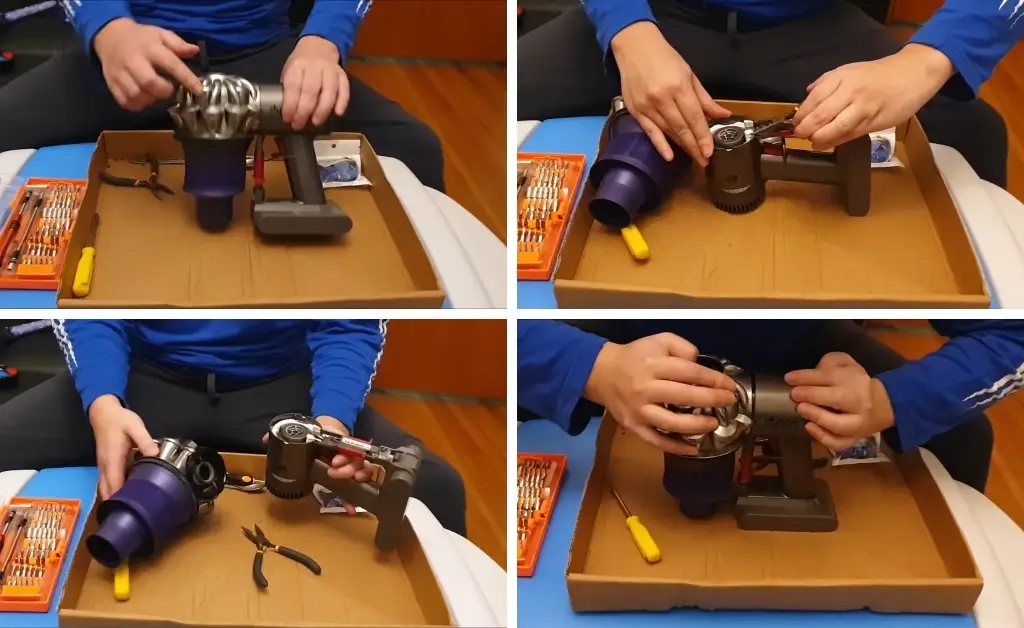
3. Disassembling the Cyclone and Motor Parts
To remove the motor part from the cyclone head, use chopsticks or pliers to pinch the two white clips located inside the vacuum.
After detaching the clips, carefully separate both components.
Now, Fit the parts together tightly.
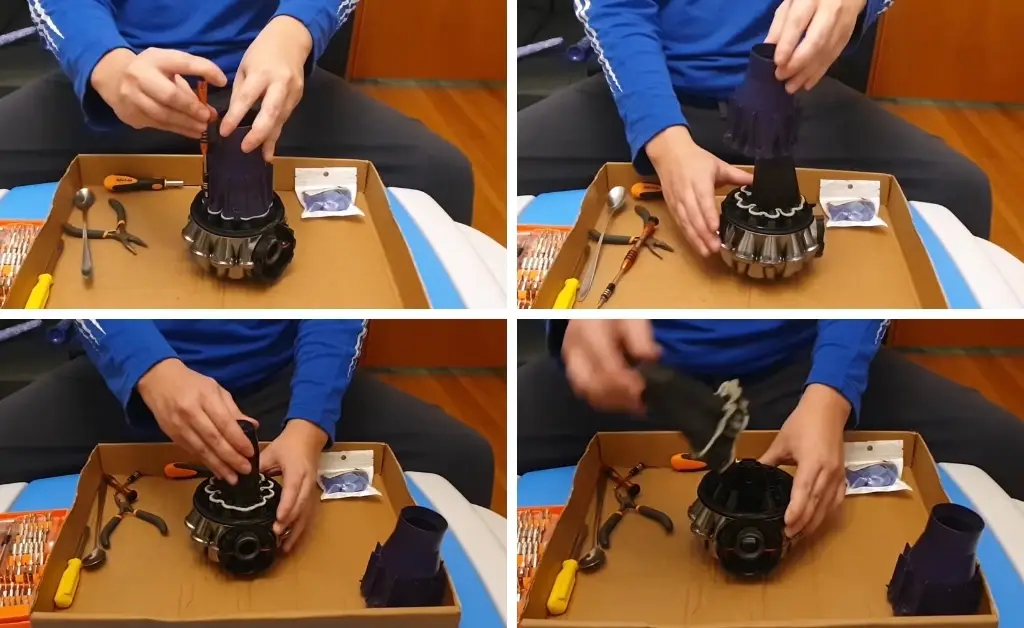
4. Disassembling the Mesh Vest
Carefully detach the mesh vest from the cyclone part using a spoon. Avoid using heavy tools to prevent damage.
Slowly rotate the mesh while carefully pulling it apart to remove it.
Identify clips and notches for proper reassembly.
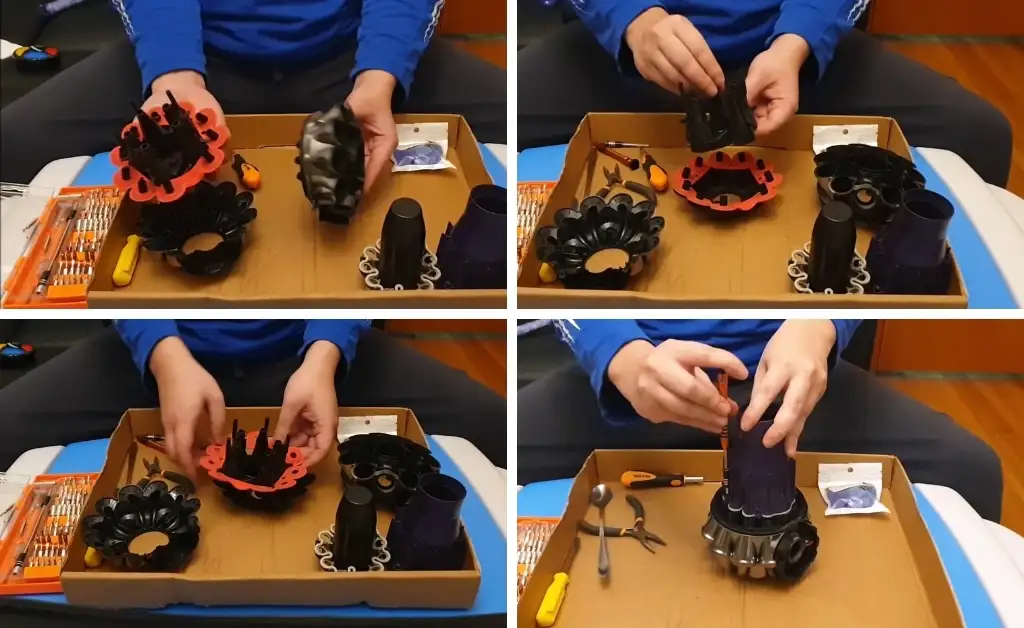
5. Removing the Screws from Cyclone
Remove Torx T8 screws with a screwdriver. If needed, extend the screwdriver with a small object. Carefully separate vacuum, observing how pieces fit.
6. Separating the Foam Gasket
Now time to remove the foam gasket sealing the vacuum. Avoid tearing it to prevent leaks and maintain suction power. Reinstalled the gasket correctly in its original position to ensure a proper seal.
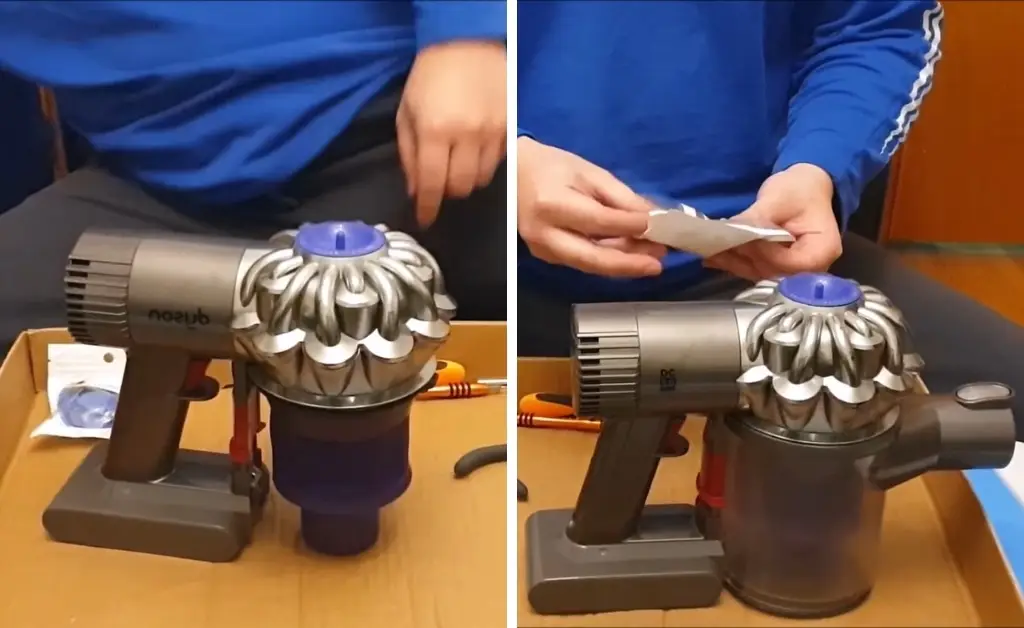
7. Reassembling the Vacuum
After cleaning or replacing any of your vacuum parts, now reassemble the vacuum by aligning the back with the back and pushing the pieces together.
Before securing with screws, verify that all gaps are uniform, and the vacuum is completely sealed.
8. Reattaching the Bin and Filter
Reattach the bin by angling it and pushing in the nose or head section.
Taking apart a Dyson vacuum cleaner can be a delicate process that requires both patience and attention. By following the above guidelines will allow you to disassemble your Dyson safely for cleaning or repair purposes. It’s important to handle each vacuum part with care to prevent damage and guarantee a smooth reassembly.